Last year, the Bash moved from New Years Eve to New Years Day and it worked so much better for so many people. So, I decided to do it on New Years Day once again. We will start things off at 2m PST to allow people to get a bit of sleep in after a late night. We will be working on an album with a free tutorial using some of my digital papers.
This year I am doing things a bit different. Rather than having everyone sign up for prizes, I decided that everyone gets something. The pattern for the class will be the free tutorial shown below. There is a downloadable supply list and cutting guide and the video from the class on the 1st will be available for free viewing in the Archives after the show. This way everyone wins, and I don’t add to my already backlogged shipping.
The Tri-Foto Album is inspired by trifold brochures used in marketing. To create lots of room for photo’s, it includes both vertical and horizontal cascades, a folio-style center section and 3D pockets to hold matted photo’s. Here’s the Tutorial:
Click HERE for supply list and Cutting instructions

Tri-Foto Album
(c) 2016 Laura Denison Designs
Score and fold 1/2″ tabs down length of each side of both card stock spines.

Attach lightweight chipboard strips to spines.

Attach cardstock Album Back and Fronts to spines to create the tri-fold structure.
The wider spine is on the left of the back and the narrow spine is on the right of the back. Attach narrower front to right side of back.

Apply lightweight chipboard panels to all covers, centered to allow 1/8″ around perimeter.

Score and fold side flaps for center Folio section. Attach with 1/2″ tabs to the inside of the spines.
Attach to each side of center back.

Attach lower flap to center folio section with 1/2″ tab.

The Horizontal bottom hinged cascade will be on the front of the right flap.
There is a card stock base and (6) cascading flaps.
This unit can be turned to be a top hinged cascade, if preferred.

Attach first flap 1/8″ above bottom of base rectangle, centered.

Attach subsequent flaps under the preceding flap, aligning edge of tab with edge of preceding flap.

Attach all flaps. Attach unit to front of right flap, centered on chipboard panel.

The Vertical Cascade section is on the inside of the right flap. Attach narrowest left flap, with 1/4″ channel, flap first.
Attach 1/2″ flap, 1/8″ from fold of right spine.

Attach 2 remaining flaps tabs, aligning edge of tab with edge of previous flap.

The inside f the left flap has two 3D pockets to hold multiple matted photo’s.
each pocket has (2) 1/2″ scores to create tab to attach and side of pocket.

Trim away corners as shown below. Fold along score lines.

Overlap tabs at corners to create attachment tabs.

Attach square lower pocket 1/8″ from bottom edge and 3/4″ from spine fold.
Attach upper pocket, 1/8″ above lower pocket with left sides aligned.

Matte and embellish pages, flaps and pages as desired. Add additional pocket or flaps as you want. Enjoy!
I will post photo’s of the fully completed album when I have it finished.
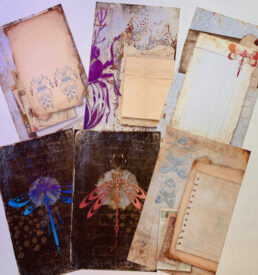
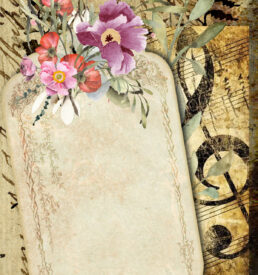
The sample is made using black card stock and my new “Champagne and Roses” Digital Paper Pack.


Thank you Laura for your generosity. Have a safe and Happy New Year. Hope 2017 brings you lots of fulfilled dreams!
thank you Laura! looks like another wonderful project to keep me up late 😀
Hope to join in the fun Laura (early AM in Australia).
Thank you for sharing and wishing you & your family a wonderful New Year 🙂
I’m looking forward to working on this project. I sure hope I can watch during the live, but if not, Have a very Happy New Year and I will see you in the video. Thanks for all you do. It’s more than you know.
Thank you, Laura. Happy New Year.
Thanks so much! See you at 5pm EST! Gotta get busy cutting so I’m ready.
Can’t wait another new years project I am cut and ready thank you Laura
Great project Laura, thanks for sharing! Unfortunately it will be late night here in Italy when your show starts, a real shame!! 🙁 But I’ll watch the recordings. Happy New Year to you and your loved ones.
Thank you Laura. It’s a lovely album. Happy new year to you, your loved ones and all of your helpers and Paper Doodles!
Thank you Laura for another great album project!!! You are truly an inspiration with all of your creativity. Hope you are oozing with creative blossoms in 2017! Have a great day and the best in 2017….